Are you interested in building browser extensions for Chrome? If you’re also familiar with React, then you’re in luck! In this blog post, we’ll discuss how to build a browser extension for Chrome or Chromium-based browsers using React.
By the end of this article, you should have a fair understanding of how to set up development and build an environment. Whether you’re building a simple extension to enhance your browsing experience or a complex extension to automate tasks, the techniques covered in this post will provide a great foundation for your project. So, let’s get started!
Create react app
Start a react boilerplate project using create-react-app
npx create-react-app my-browser-extensionUPDATE manifest.json file
You can find the manifest.json file in the public directory of the newly created react project. We will update the manifest with the below JSON
{
  "manifest_version": 3,
  "name": "My Browser Extension",
  "short_name": "My Browser Extension",
  "version": "0.0.1",
  "icons": {
    "16": "favicon.ico",
    "48": "logo192.png",
    "128": "logo512.png"
  },
  "permissions": [],
  "action": {
    "default_popup": "index.html",
    "default_title": "My Browser Extension"
  }
}
For more information about manifest and manifest v3, I would highly recommend reading the chrome manifest v3 page. Link here
Create a .env File
In the root folder of your project create a file called .env that’ll hold your environment variables. Once created add the variables below
INLINE_RUNTIME_CHUNK=falseThis will make sure there are no issues with Chrome
Build Your Extension
Build your extension with the command below
npm run buildOnce, the project is built you can find the installable bundles files in the build directory at the root of your project
Install your extension
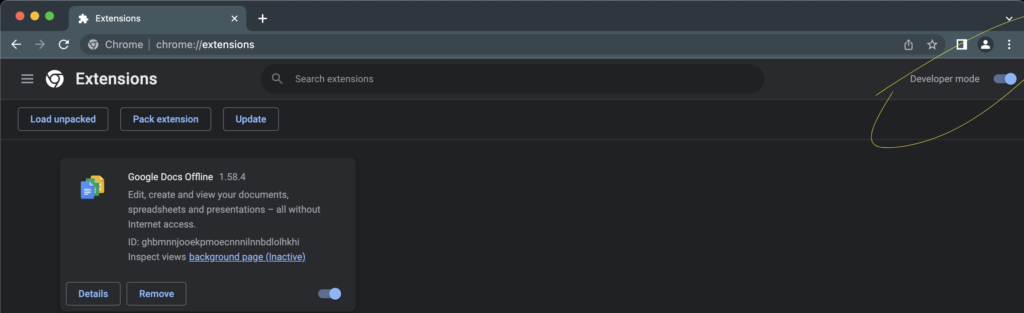
- Open the extension page in your chrome by entering the address in the browser
chrome://extension- If not already turned on, you need to enable the developer mode first. Refer to the screenshot
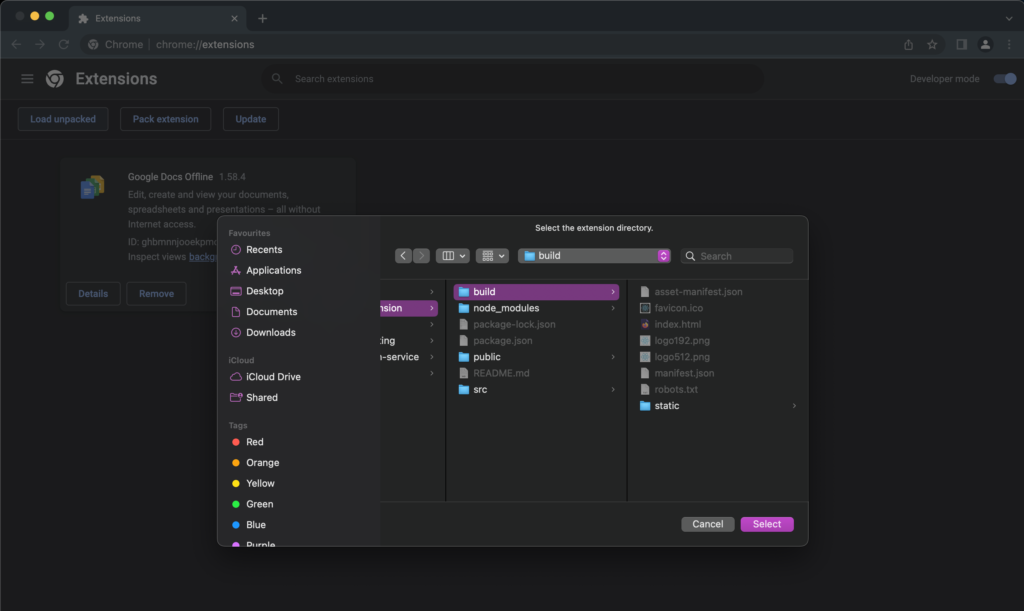
- To install the newly built project, Click on the load unpacked button and select the build folder in your react project
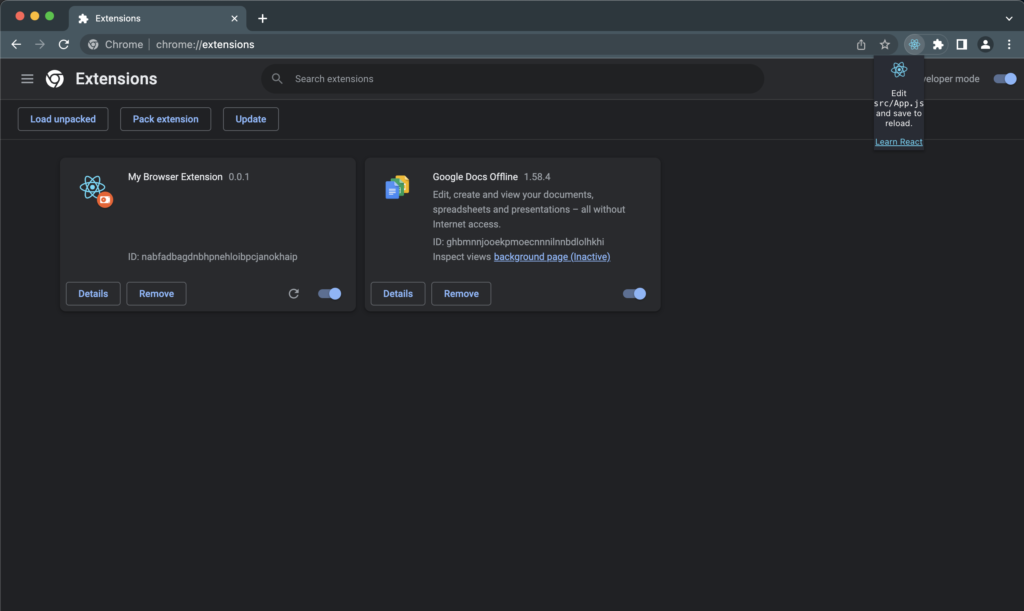
Once the plugin is installed, At this point, we can start using our plugin
Summary
In this blog post, we explored the process of creating a build and development environment for building a Chrome extension with React. As the v2 schema has been deprecated, we focused on the latest and recommended version, v3, for building Chrome extensions.
In its current state, our extension does not have any specific functionality. However, since it is built on a plain React boilerplate, the possibilities for what we can achieve with it are virtually limitless.
Leave a Reply